Have a sketch or photo?
Attach it in Create It AI, add any known sizes and notes, then choose “Create my part”. Review the generated drawing before quoting.
Sketch & photo tips
Create It AI
Describe an idea, open an editable example, or attach a sketch or picture. Create It AI helps turn your starting point into an editable part to check and quote.
Bring the measurements you know. Check the part you create.
01 / From an idea to an editable part
Tell us what the part should do. Include the shape, overall sizes, hole positions and any lettering you need.
An example description
“A rectangular mounting plate, 160 mm wide and 110 mm high, with a 56 mm centre hole and four 10 mm fixing holes. Put the fixing-hole centres 14 mm from the nearest edges.”
Describe the function as well as the shape. Include measurements you know, then check the result. Ask for a change or use the available editing tools. AI can misunderstand a feature or dimension, so compare the result with what you need.
Prefer a starting shape? Open an example in the app and make it your own. These are three of the app’s editable CAD examples.
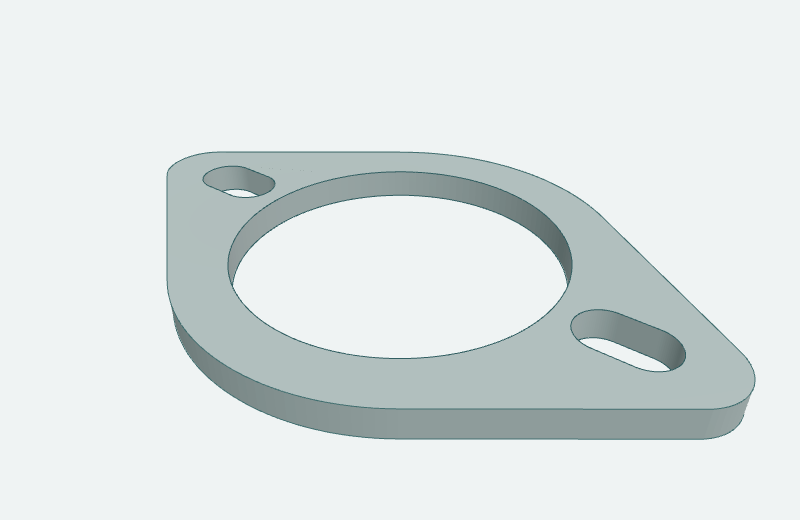
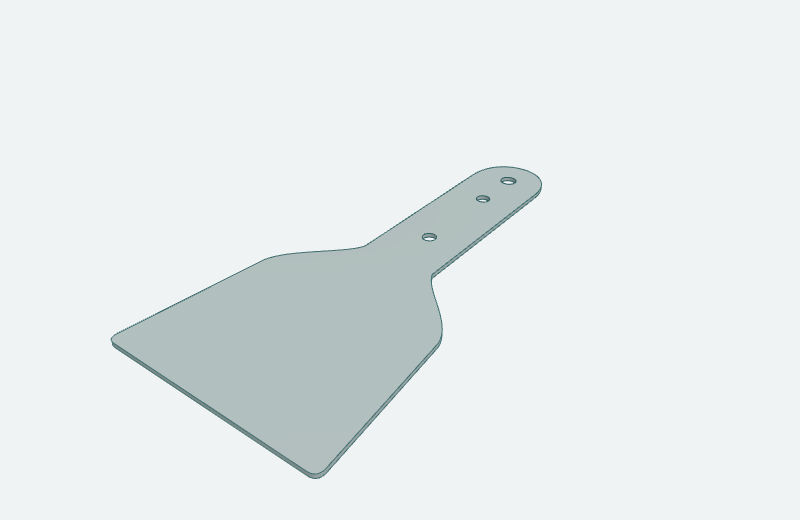
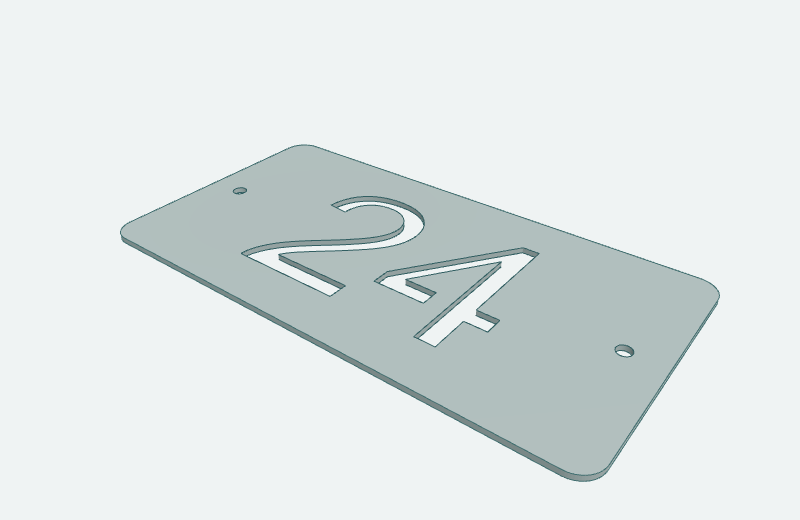
A folded preview does not mean a bending service is included. Parts are supplied flat; check the cutting geometry and material before ordering.
02 / Sketch & photo examples
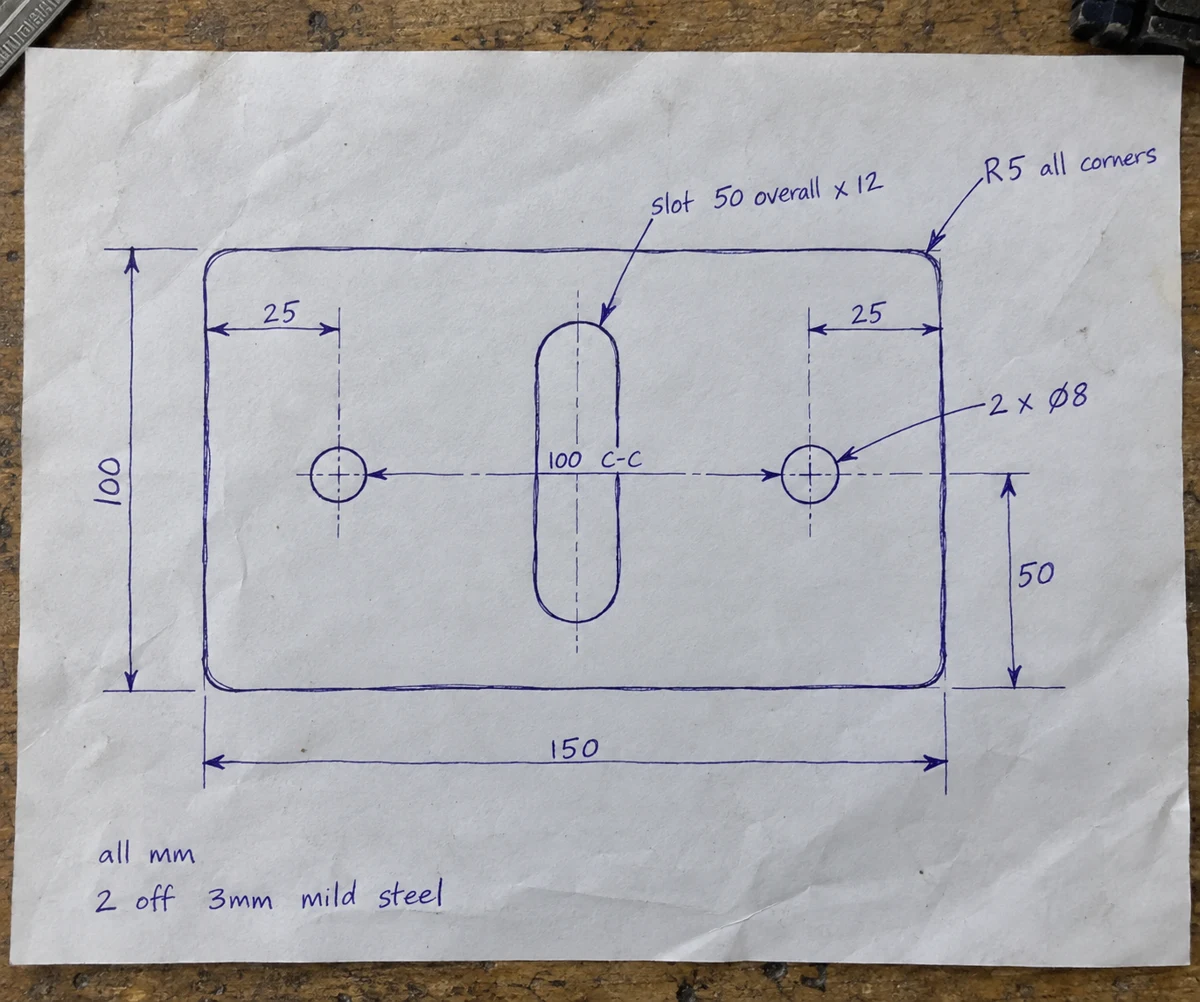
Your sketch, drawing or photo becomes a cutting drawing you can check and edit.
Show the shape and write the sizes you know.
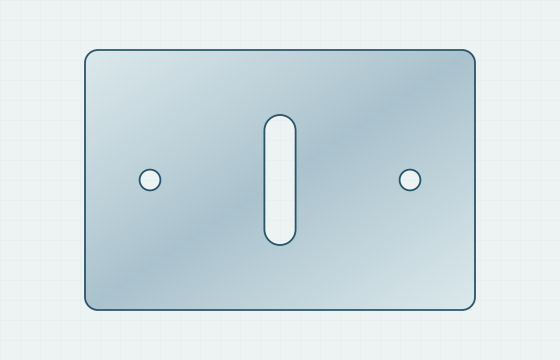
Check the outline, holes and slot against your sketch.
150 × 100 mm · 2 holes · 1 slot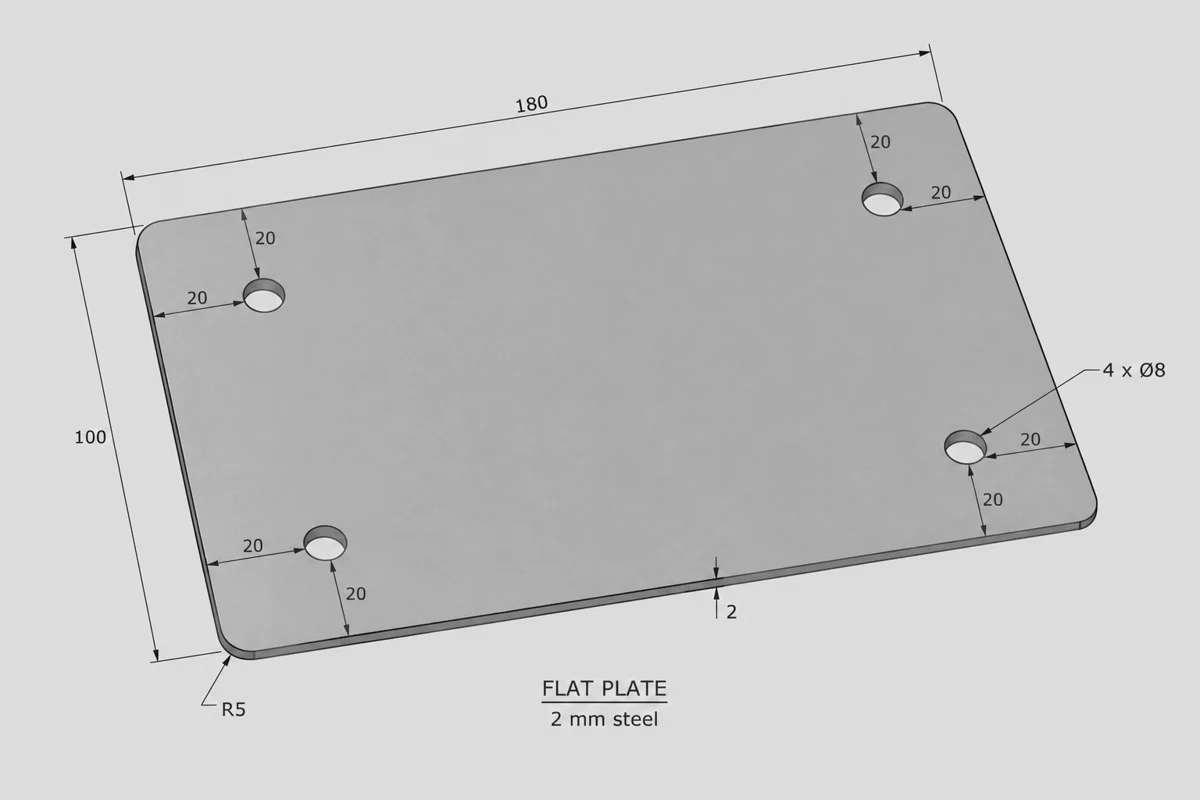
Use a clear drawing. For a PDF, open the dedicated drawing upload and select the page you want to use.
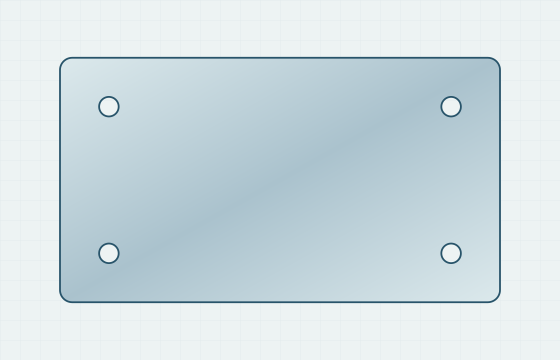
Check the shape and confirm any missing sizes.
Check the shape and sizes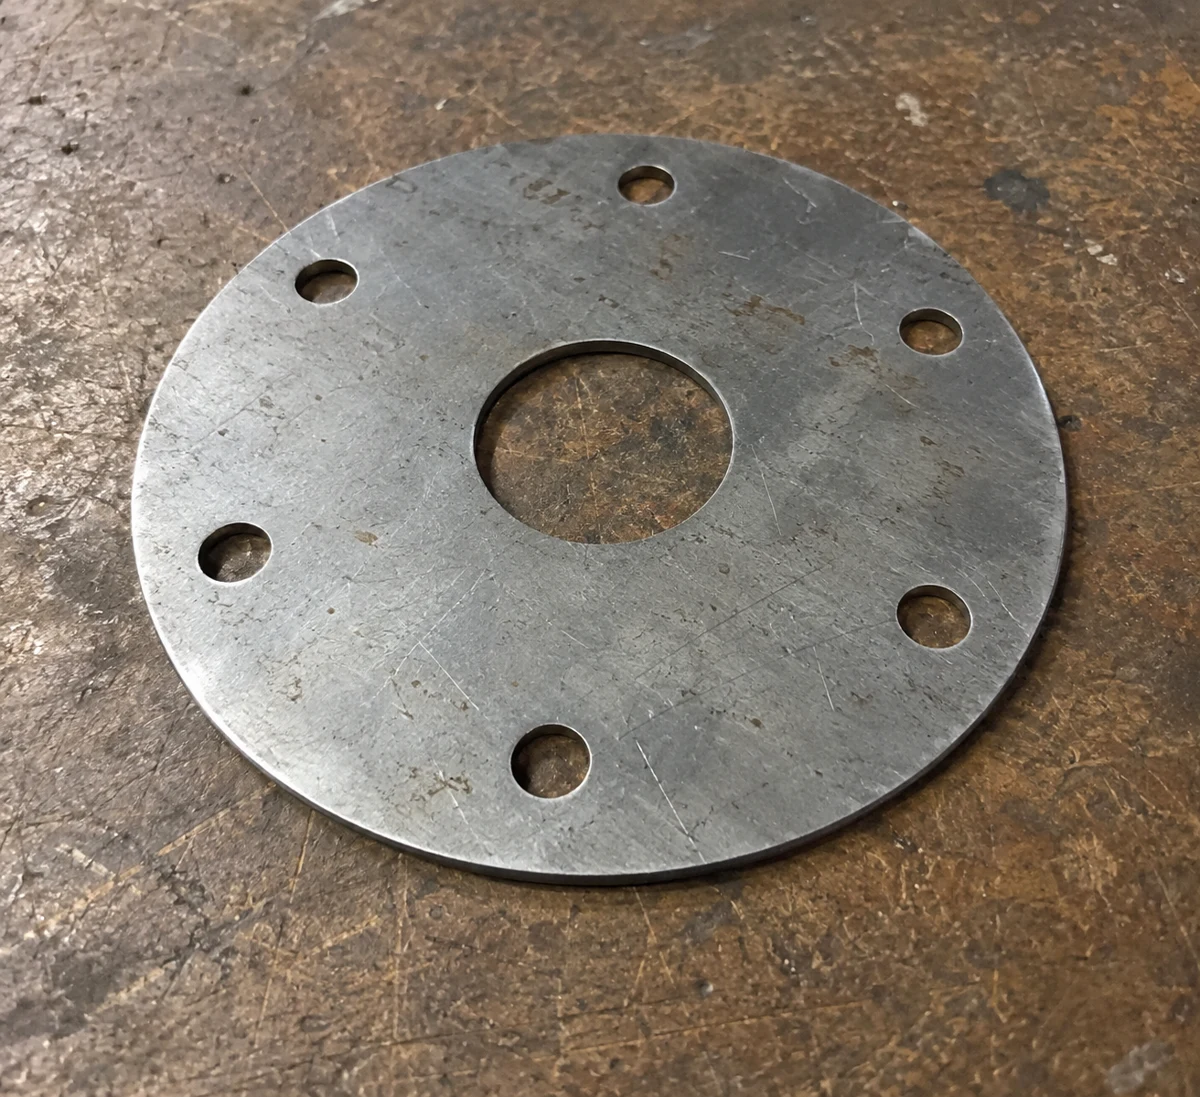
Show the whole part from above, with every edge visible.
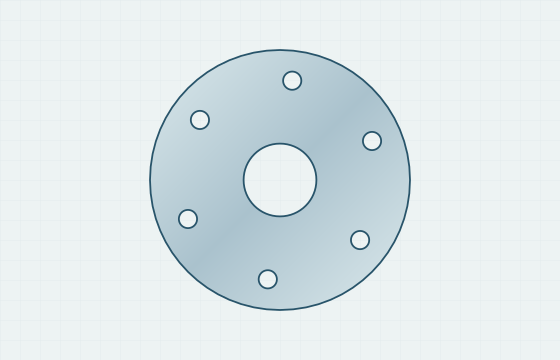
Add measured sizes. A photo cannot tell us the real dimensions.
Estimated shape · real dimensions neededExamples showing an upload and a drawing prepared in the app. Check the shape and measurements of your own result.
Explain what it does, its shape and the sizes you know. Choose Create my part.
Use one sketch or up to three photos of the same part. Enter a known width and any important details after attaching them.
Attach an outlined SVG logo, or use the logo option with a suitable image. Describe the part you want the logo cut into.
PDF and ordinary SVG drawings use Sort It Out. Supply one page of vector cutting outlines; scans and multi-page files need a suitable export.
Open Sort It Out ↗Picture attachments accept JPG, PNG, WebP and HEIC/HEIF. PDFs and normal SVG drawings open in Sort It Out. Select the logo option explicitly to cut an outlined SVG logo into a new part.
03 / Three simple steps
Describe an idea, open an example, or attach a clear sketch or picture with the sizes you know.
Check every edge, hole and measurement. Refine the part with the available editing tools or follow-up instructions; check the result of each change.
Name your part when asked. Choose material, thickness and quantity, then check the cutting preview and quote warnings before ordering.
04 / Sketch & photo tips
A clear view and real measurements make the difference.
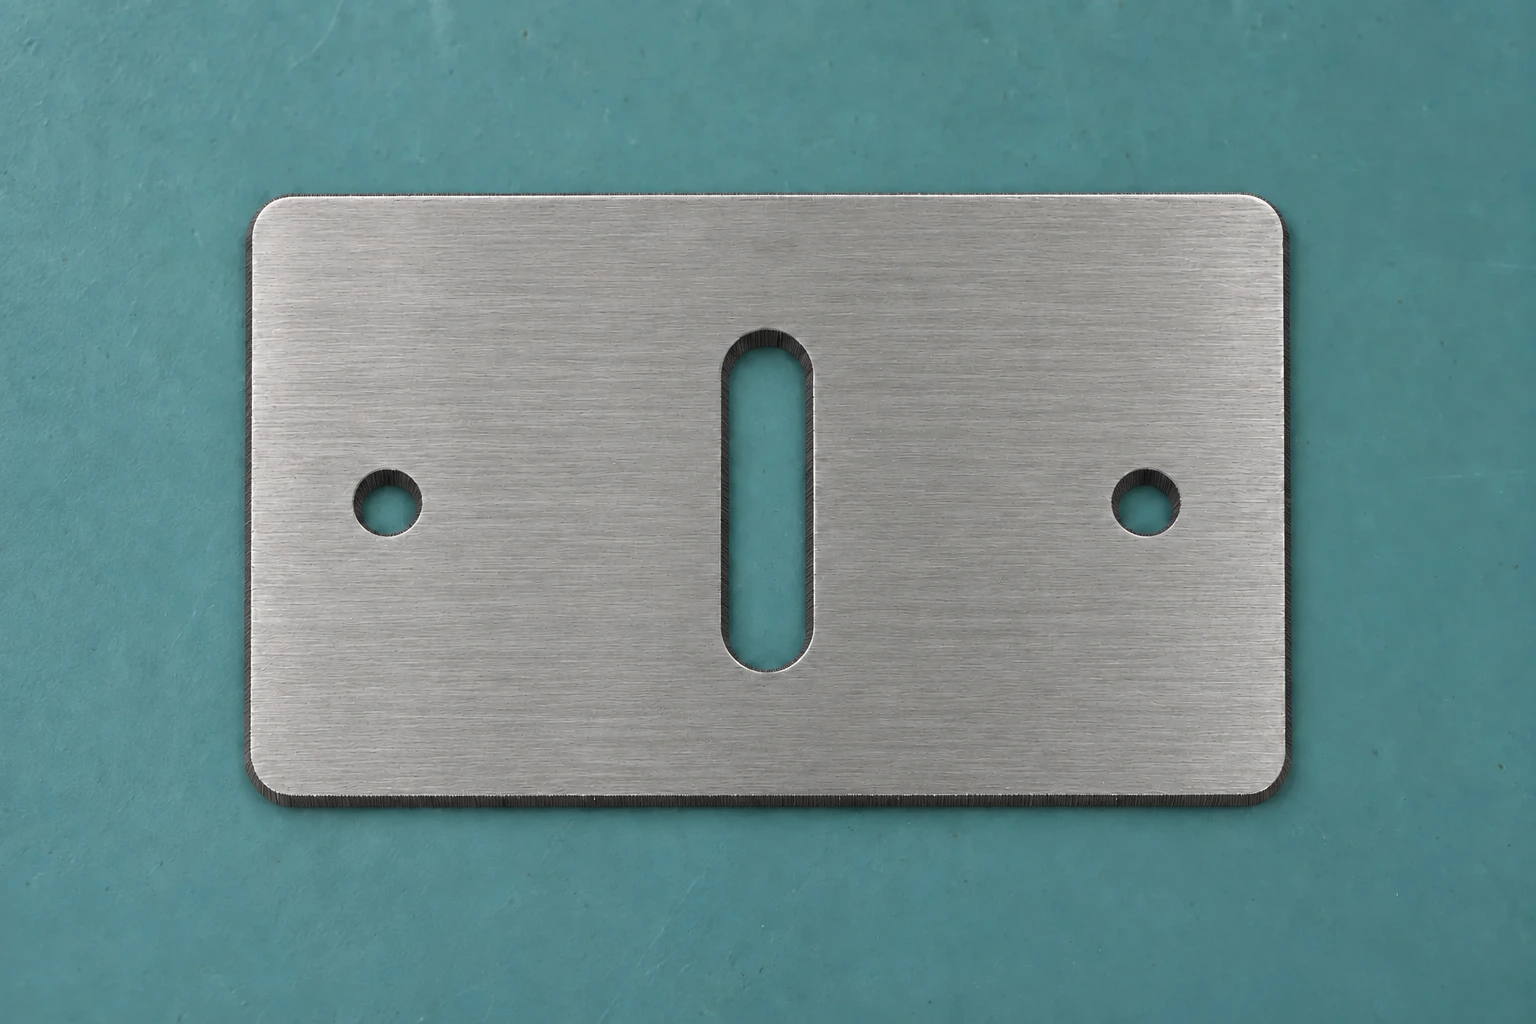
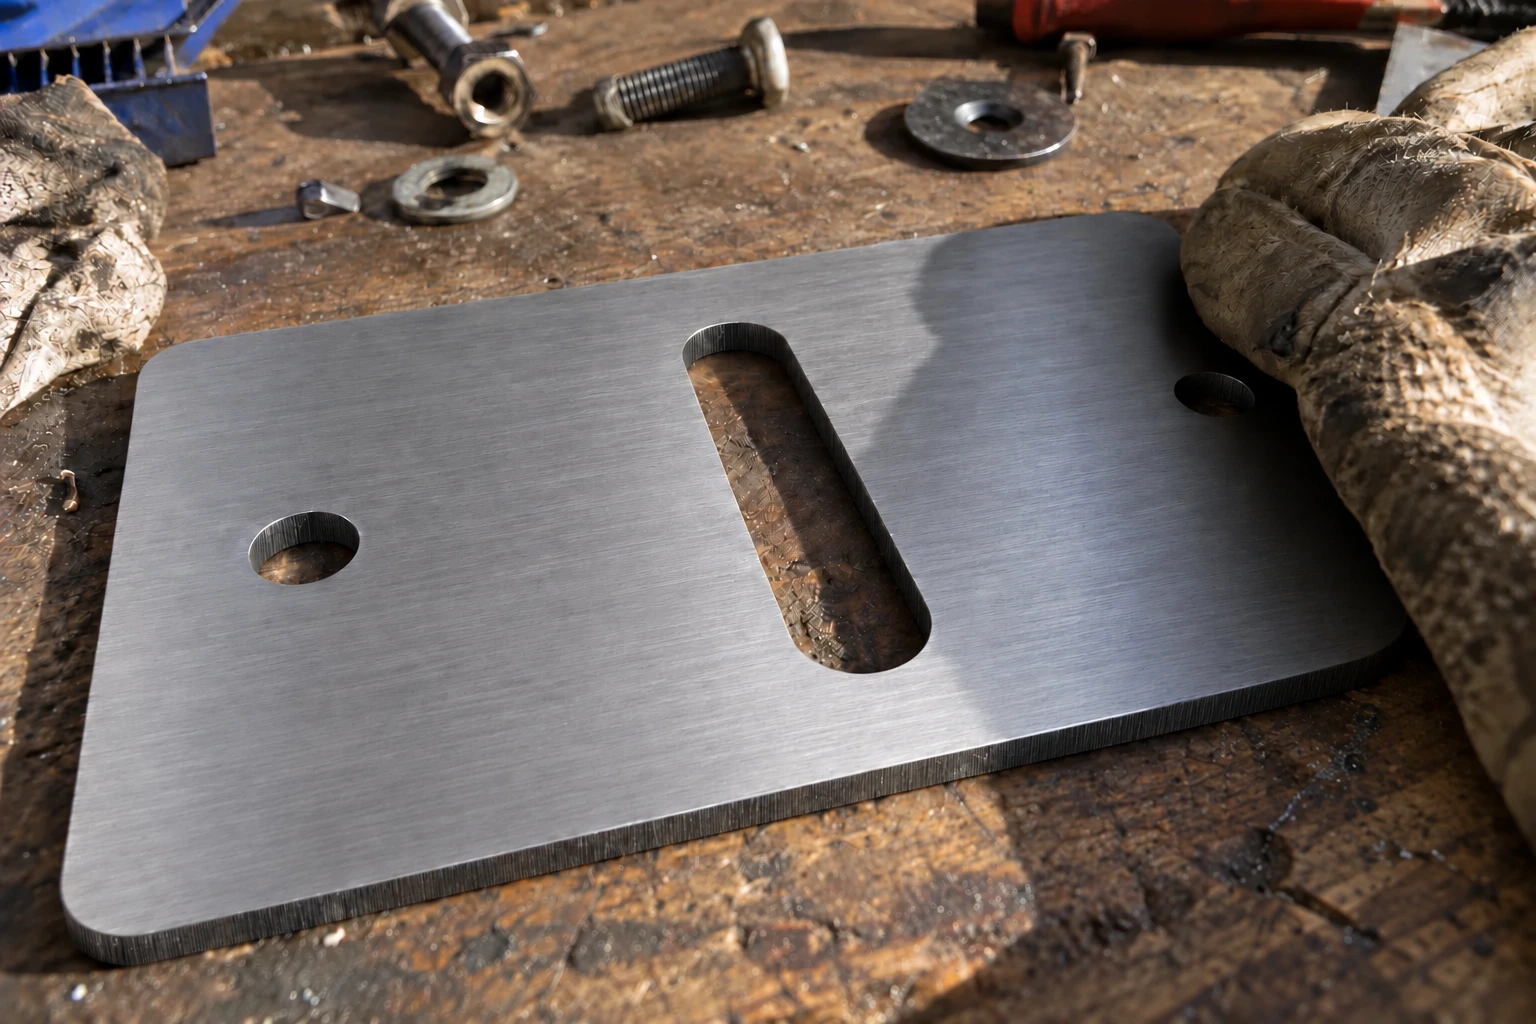
Illustrative photos showing clear and obstructed views.
For flat laser-cut parts. A photograph does not establish hidden details or accurate dimensions. AI can miss features or misread sizes—check your drawing before getting a quote.
Use the tools available for your design to change dimensions, round corners, adjust holes or describe a change. Undo and Redo let you review your edits. Tools differ between generated designs, picture-based parts and imported files.
Use the drawing and measurements to check the part. A 3D or folded preview helps show the design; it does not mean we supply a bent part. A face view is not the same as an unfolded cutting pattern.
Save your part, then open My parts to return to its editor. When ready, choose Continue to quote and name the part when asked.
The app explains the limit and the next step. AI generation and follow-up requests have allowances; saved-design storage has a separate limit. Existing saved parts can still be edited and quoted where the app allows. Your saved parts are not replaced to make room automatically.
No CAD skills needed.
Start with a description, an editable example, a sketch or a suitable part photo.